Saturday, October 12, 2013

And then one day...we bought a house.

This is not the post to explain the road we traveled to get here.  To buying a house.  That might come some other time, as it's a long story!  This post is because of the family and friends who have asked for pictures of our new house.  Well, technically, we haven't closed on it yet, so it's not 100% a done deal, but it's as close as we'll get until our closing date on November 14th! 

We didn't take any pictures of the outside of the house or the yard yet - oops!  We were focused on the inside of the house and measuring everything during the inspection since we won't get to go inside for another month when we close and move, and wanted to be able to look at our pics to plan our furniture, etc, so we didn't really worry about pictures of the outside.  It's an older house ('95) and the outside definitely needs some work as it looks a bit run down (long story, it's been vacant for 2 years as two daughters have been remodeling the inside after their parents suddenly passed away) and the landscaping has only been kept up to the bare minimum (basically, they mowed the lawn, and maybe pulled some weeds, but it's overgrown and untended).  The inside is looking much nicer than the outside, since that's what the sellers have been working on painting, new floors and carpet, new appliances, etc.  We will face the yard work in the spring when the time comes - nice not to have to worry about that too much at this point since we're moving as winter and snow are taking over Colorado!

Front door and entry way
 
Stair case in entry leads to bedrooms upstairs, and the family room is off to the right
 
This is the "living room" to the left of the entry way.  We will be using it for a "play room" of sorts, with our old couches, play kitchen, train table, etc
 
View from the "play room" into the "formal dining room."  We are turning the dining room into our homeschool room - I am SO EXCITED about it!!!  Can't wait to post pictures of it down the road.

 
View from standing inside the family room - kind of a great room feel with the kitchen and family room open to each other (hall on the left leads to the powder room, laundry room, and garage).
 
Family room - left
 
Family room - right

Kitchen, overlooks the family room
 

More kitchen.  Off to the left you can see into the "homeschool room" (dining room), and off to the right you can see the French doors into the office.


This is where our kitchen table will go - can't WAIT for our new table which will actually seat our family and extend to seat company :)  We have been so cramped in our little breakfast nook eating area and I cannot even tell you how excited I am for our new dining set up!

View from inside the office, where Robin will be able to work from home when he needs to, and it will also be our music room where we hang all of his guitars and put Ty's keyboard for his music class.
 
Top of the staircase, master bedroom door is to the right from the stairs, and the other 3 bedrooms are off to the left at the top of the stairs.
 
 
Master bath, and closet on the right
 
More master bath


Master bedroom


Kid bedroom - haven't decided which room will be for the boys and which room will be for the girls.


Another kid room.  The 3rd bedroom will be a guest room + napping room.  Right now we have a kid napping in our room in a pack n play every day, so I look forward to having our bedroom space back and using the guest room for nap time instead!

Kid's and guest bathroom.

Oh, and randomly, a picture of half of the basement.  The whole thing is unfinished, but it's huge and will be an awesome storage space.

So that's all for now!  Pictures of an empty house...and we are so excited to move in to it!  I can't sleep anymore because my poor brain can't stop thinking about where to put the couch, which wall to put the bed on, where our pictures frames will work, how to organize the kitchen cabinets...ahhh!  We are feeling totally overwhelmed and blessed at how doors have opened and things have worked out with this house.  It's more than we ever imaged...and cheaper than we ever imagined!  We look forward to turning this house into our home for our soon-to-be family of 6!!!  I will post more pics down the road when we move in so all you out-of-towners can see the place since we can't invite you over for dinner.

Friday, June 14, 2013

A gift of rocks

Hey, look at me!  Posting again before an entire year went by.  I'm on a roll. 
 
A couple of weeks ago was my mother-in-law's birthday.  I made some homemade vanilla extract for her as a gift (didn't try it first...so here's hoping it's any good!).  I wanted the kids to make something for her since I know she would appreciate something handmade much more than something store bought.  And the kids have about $2 between the two of them, so that wouldn't have bought anything fabulous anyway ;-)  She loves to garden and has a lot of plants, planter boxes, etc, so I thought it might be fun to make some "pet rocks" to live in her garden!  The kids would love doing it (I would try not to have an anxiety attack, like I often do when I get out a bunch of painting supplies around my 2-year-old), and my MIL would have some things in her garden that would remind her of the kids on a daily basis.
 
I browsed around online and saw a few different ideas to pull from, and we also made some up on our own.  Here is our first venture into the world of pet rocks!
 
Armed with some "base" colors for our critters
Jersey girl painting her rocks.


While painting there were plenty expressions of her current favorite phrase: "Mommy, I do it MYSELF" - complete with big eyes, serious tone, and the most exaggerated emphasis on "myself" that you can imagine.  She must be two. 

Tyson choosing to pain a mouse grey.


The finished product of Stage 1!  We wrote next to them in the box what we thought they should become after observing their various shapes.  *Most* of what we originally thought of came to fruition.
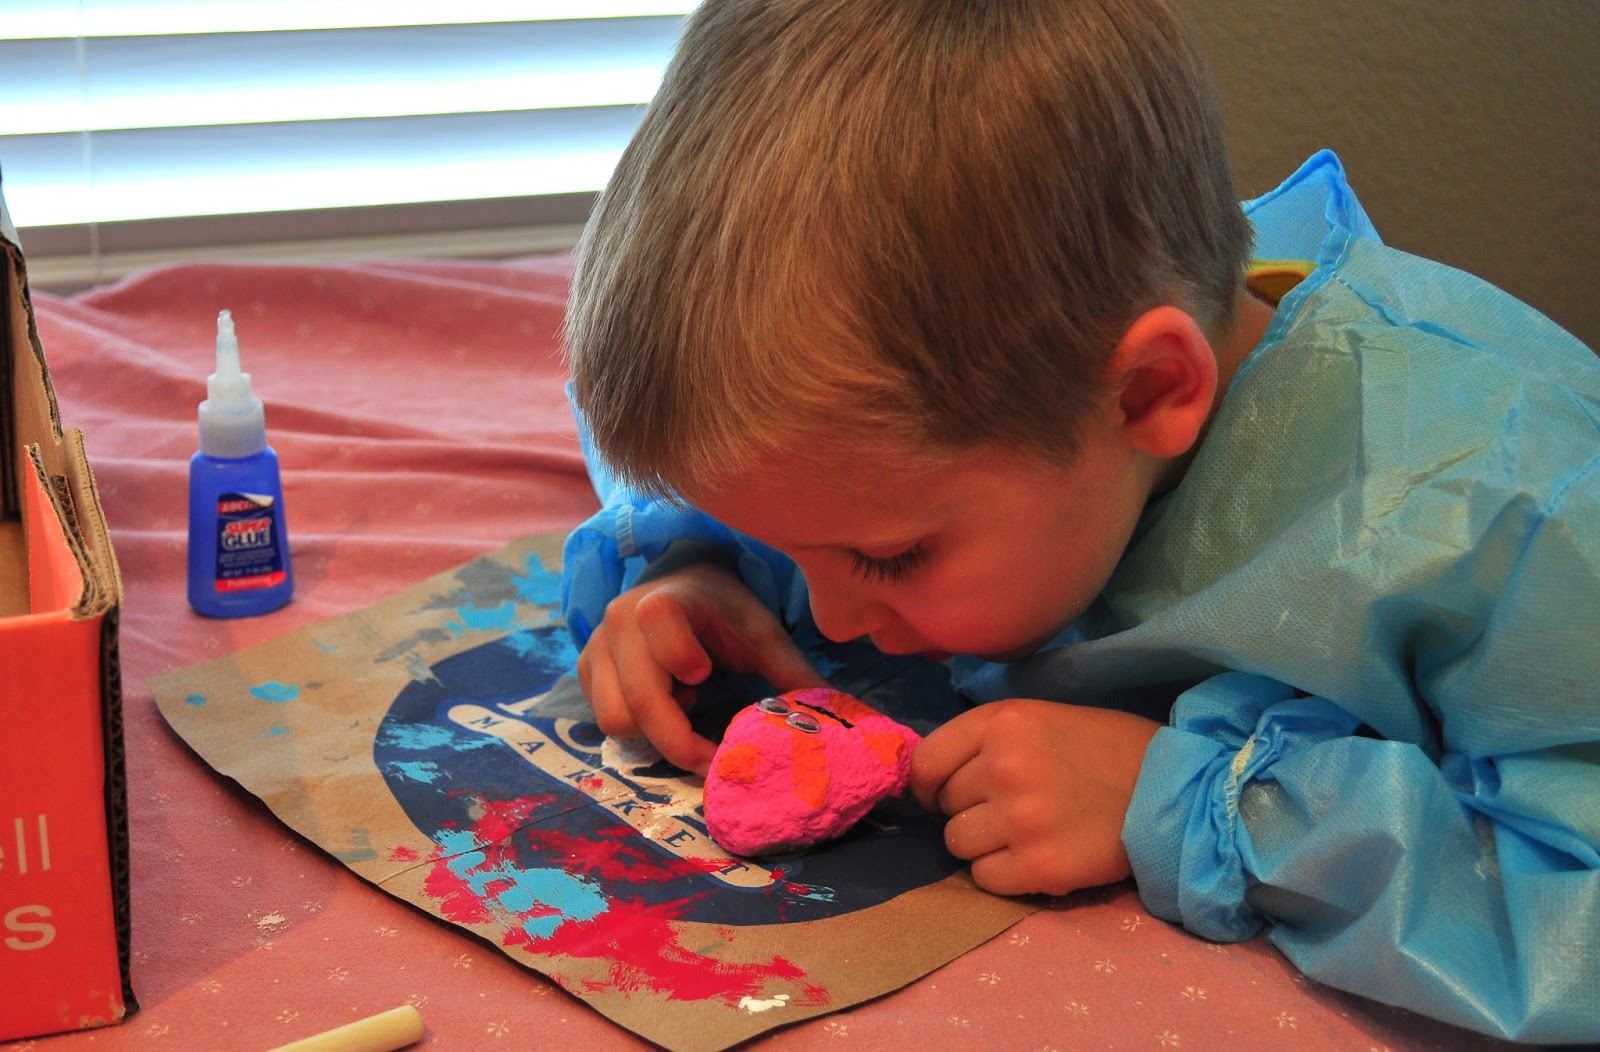
 Stage 2 was just me and Ty.  I woke him up a little bit early from his nap so he could help me paint stripes and eyes and noses, etc.  I knew Jersey would get frustrated with me trying to show her what to paint, and she doesn't have the fine motor skills to do anything more than broad strokes yet.  So for this particular project, Tyson and I had some special time putting on the finishing touches.

Ty blowing on the "googly eyes" so they would dry.

My goof ball thought he was pretty "big time" waking up early to help with a special project.

Here is the finished product!  We decided to make: fish, tiger, ladybug, bee, mouse, dog, and 3 monsters (Tyson's favorite!).  After the rocks were dry we decided to spray the fish and two of the monsters with some glitter (I mean, who doesn't love a glittery pink monster!?).  Then we sprayed all of the rocks with a clear, UV resistant coating.  I'm hoping it will keep the colors from fading too much this summer!

Tyson's favorite monsters! He LOVED the googly eye effect.

A couple of my personal favorites.
There you have it!  A cheap, fun, relatively painless (probably completely painless if you don't have a 2-year-old!) project which turned out super cute.  My only regret is not making any for us, because the kids both carried the rocks around and talked to them like they were real pets, ha!  So cute.  We will have to make some more for our own yard at some point.